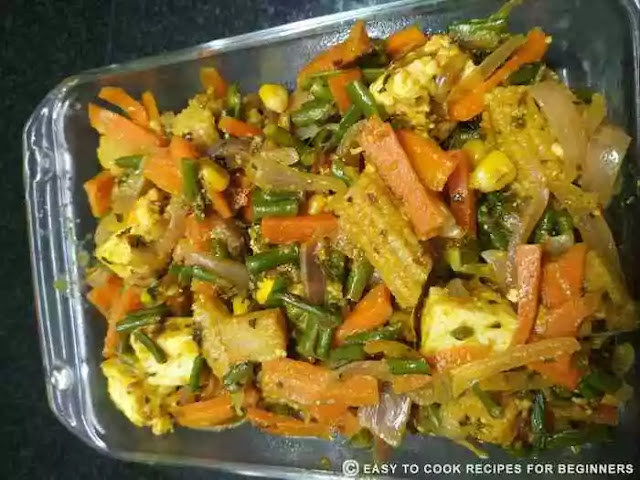
Welcome readers and guests to my blog again! Today we’ll be making another healthy, nutritious and highly palatable recipe that is prepared with lots of vegetables. It is none other than everyone’s favourite veg jalfrezi. You may have eaten veg jalfrezi before in restaurants or at your friend's place. But everyone has a different style to prepare this marvelous recipe.
Apart from its appealing colours its aroma attracts everyone and the taste is just hmmm! To really know its taste, you have to dress up in cooking uniform and prepare this dish. I am sure that you won’t forget its taste and you’ll add it up in your special menu for the guests.
You can add any number of vegetables and try their different variations of vegetables. To make it interesting for kids you can also add paneer to this recipe. I added my own choice of vegetables like baby corn, frozen corn, carrots, beans, paneer etc.
Before we start preparing veg jalfrezi doing the preparation like chopping and gathering the ingredients in advance would make the whole process a lot simpler. Jump to ingredients section to do the chopping and gathering spices that are required for this recipe.
Veg jalfarezi is a spiced vegetable. At my home we prefer to eat very less spicy food, so there are no spices in this. You can adjust the level of spices according to your taste. The tomato ketchup gives tangy flavour to the dish.
If you want to make veg jalfrezi even healthier you can use tofu instead of paneer. Isn’t that great!
Recipes you may like to try
Ingredients for veg jalfrezi (serve - 4 pax)
1 cup sliced onions
1 cup carrots cut into thin batons
1 cup beans (I had long beans, use any beans)
1 cup baby corn cut into long pieces and corn kernels
1/2 cup paneer/tofu
1/4th cup thick curd
1/4th cup tomato sauce
2 tbsp ginger garlic paste
1 tsp salt
1/2 tsp turmeric powder
1/4th tsp red chilli powder
1 tbsp garam masala
3 tbsp kasturi methi
For tempering/tadka
1 bay leaf
2 green cardamom slightly crushed
2 small sticks cinnamon
1 tbsp jeera
2-3 cloves
Method
Heat oil in a heavy bottomed pan
Add the tempering ingredients and stir fry for 30 seconds
Add the onions and fry for a minute
Add ginger garlic paste and stir fry
After 2 minutes add the vegetables and mix and stir for 2 minutes. Add 1/4th cup water and cover and lower the flame and let it cook stirring in between.
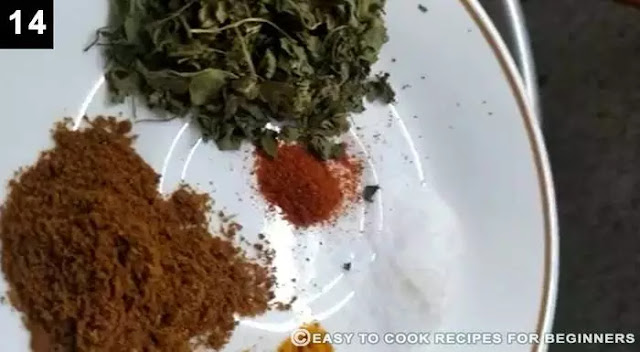
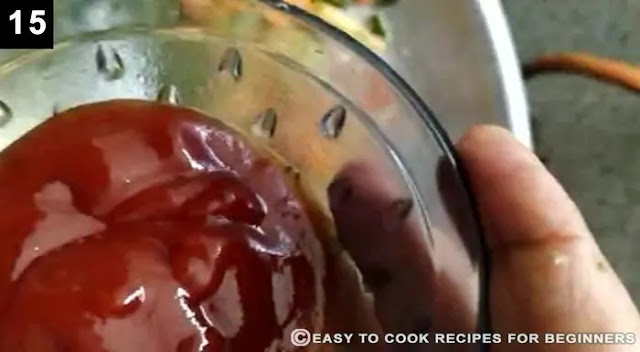
After 12-14 minutes when the veggies are cooked open the lid and add the paneer and seasonings and sauce and mix well and cook for a minute.
Lastly add curd and cook for a minute.
Serve veg jalfarezi with accompaniment and hot phulka.
Video
Conclusion
Veg jalfrezi is prepared with combination of numerous vegetables and Indian spices. You can add any vegetables and as many quantity as you like.
To make it interesting I have added paneer as children enjoy eating paneer vegetables more. It takes 20-22 minutes for veg jalfrezi to cook.
You can also add tofu instead of paneer.















0 Comments
Leave your valuable feedback please